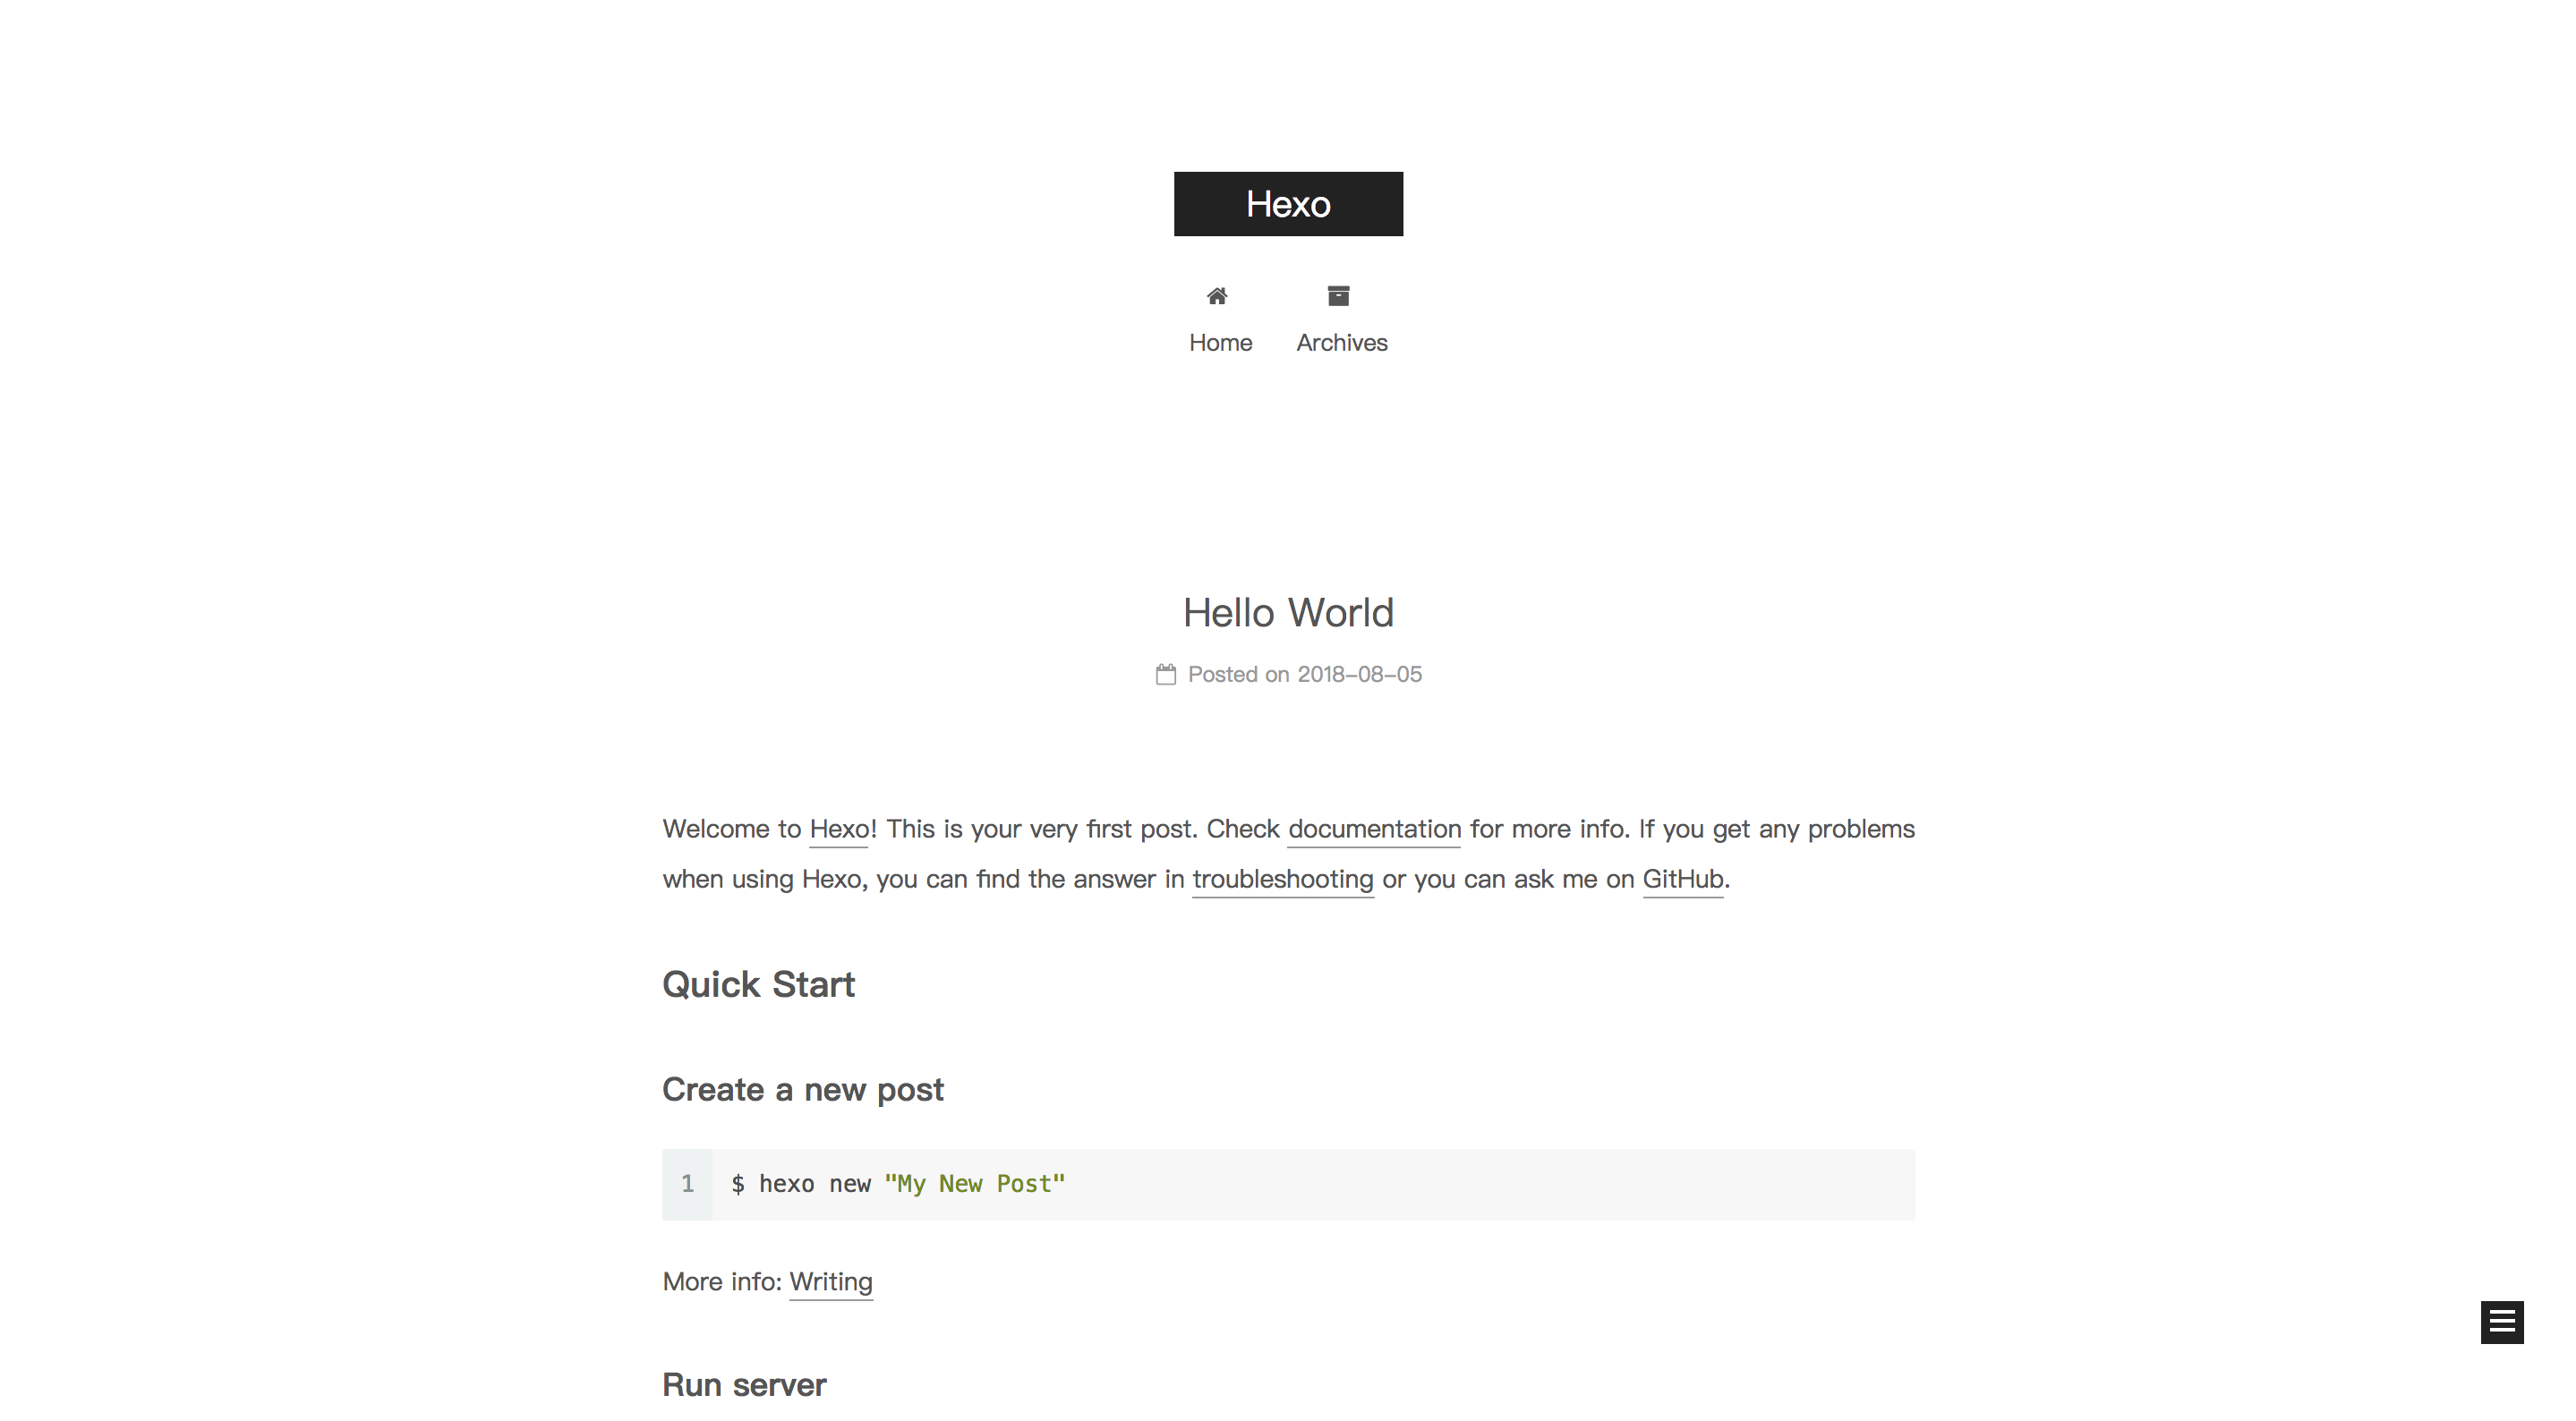
安装 Hexo
安装 Hexo 的前提你已经安装以下安装程序
1. Node.js
2. Git
安装 Node.js
1 | brew install node |
或者从 官网 下载安装包,傻瓜式安装
安装 Git
1 | brew install git |
或者从 官网 下载安装包,傻瓜式安装
安装 Hexo
1 | npm install -g hexo-cli |
查看安装版本
1 | ➜ ~ hexo -v |
Hexo 使用简介
初始化 Hexo 文件夹
1 | mkdir /path/to/my/blog/source/code ## 传建一个保存博客源代码的目录 |
然后我们来看看初始化后的 hexo 文件夹
.
├── _config.yml                ## 配置文件
├── node_modules               ## npm 依赖文件夹
├── package-lock.json          ## 根据 package.json 文件生成的版本依赖锁定文件,指定了依赖的确定版本
├── package.json               ## 声明 hexo 的所有依赖机器版本,详见 https://docs.npmjs.com/getting-started/using-a-package.json
├── scaffolds                  ## 存放模板的文件夹,hexo new 'file' 指令创建新文档的时候会使用 scaffolds 中的模板
├── source                     ## hexo 源文件
└── themes                     ## hexo 使用的主题文件夹存放位置
创建一个新文档
1 | hexo new 'newfile' |
➜ ... hexo new 'new file'
INFO  Created: ~/.../source/_posts/new-file.md
我们可以看到在 source 文件夹下面新建了一个新的 markdown 文件
生成 Hexo 静态文件
1 | hexo generate ## 可以使用简写指令 [hexo g] |
下面我们可以看到 Hexo 文件夹下多了一个 public 文件夹
.
├── _config.yml
├── db.json
├── node_modules
├── package-lock.json
├── package.json
├── public                ## 存放生成的静态文件,包含 js、css、html、图片
├── scaffolds
├── source
└── themes
启动 Hexo 服务
1 | hexo server ## 简写指令 hexo s |
现在我们可以通过 http://localhost:4000/ 来访问我们搭建的网站
一键部署到 GitHub
修改 _config.yml 文件
deploy:
  type: git
  repo: <repository url>
  branch: [branch]
  message: [message]
安装 hexo-deployer-git
1 | npm install hexo-deployer-git --save |
安装 hexo-deployer-git 遇到的问题
> npm install hexo-deployer-git --save
npm WARN deprecated swig@1.4.2: This package is no longer maintained
+ hexo-deployer-git@0.3.1
added 31 packages from 36 contributors and audited 2296 packages in 10.148s
found 1 low severity vulnerability
  run `npm audit fix` to fix them, or `npm audit` for details
让我们执行 npm audit 指令来查看具体问题
➜ hexo.test.blog npm audit
                       === npm audit security report ===

┌──────────────────────────────────────────────────────────────────────────────┐
│                                Manual Review                                 │
│            Some vulnerabilities require your attention to resolve            │
│                                                                              │
│         Visit https://go.npm.me/audit-guide for additional guidance          │
└──────────────────────────────────────────────────────────────────────────────┘
┌───────────────┬──────────────────────────────────────────────────────────────┐
│ Low           │ Regular Expression Denial of Service                         │
├───────────────┼──────────────────────────────────────────────────────────────┤
│ Package       │ uglify-js                                                    │
├───────────────┼──────────────────────────────────────────────────────────────┤
│ Patched in    │ >=2.6.0                                                      │
├───────────────┼──────────────────────────────────────────────────────────────┤
│ Dependency of │ hexo-deployer-git                                            │
├───────────────┼──────────────────────────────────────────────────────────────┤
│ Path          │ hexo-deployer-git > swig > uglify-js                         │
├───────────────┼──────────────────────────────────────────────────────────────┤
│ More info     │ https://nodesecurity.io/advisories/48                        │
└───────────────┴──────────────────────────────────────────────────────────────┘
found 1 low severity vulnerability in 2296 scanned packages
  1 vulnerability requires manual review. See the full report for details.
解决方案
添加淘宝 npm 镜像源
1 | npm config set registry https://registry.npm.taobao.org |
然后我们可以继续安装 hexo-deployer-git 了
部署网站
1 | hexo deploy ## 简写指令 hexo d |
部署指令将生成 .deploy_git 文件加,我们需要在 .deploy_git 文件中指定远程 git 链接
1 | git remote add origin giturl |
清除缓存和已创建的静态文件
1 | hexo clean |
生成并部署 Hexo 网站
1 | hexo d -g |
这两个指令是等价的,都是先构建本地静态文件,再部署网站
使用 NexT 主题
下载 NexT 主题
1 | cd your-hexo-site |
修改站点配置文件
修改 _config.yml 文件中的 theme 配置
1 | theme: next # next 是 themes 文件下主题文件夹的名称,冒号后面必须有空格,这是 yaml 语法 |
现在你可以执行以下指令去构建静态文件并且部署网站了
1 | hexo clean |
然后你可以访问 http://localhost:4000/ 去访问你的博客了

配置 NexT 主题
修改菜单栏
修改
1 | menu: | menu: |
配置标签页
“1. 创建标签页
1 | hexo new page "tags" |
修改 themes/next/_config.yml 文件
去除menu.tags前的#修改标签页标题
修改 source/tags/index.md 文件中的 title,写一个你喜欢的标题
配置分类页
“1. 创建标签页
1 | hexo new page "categories" |
修改 themes/next/_config.yml 文件
去除menu.categories前的#修改标签页标题
修改 source/categories/index.md 文件中的 title,写一个你喜欢的标题
选择 scheme
themes/next/_config.yml 文件中默认主题是 Muse,我选择 Mist
# Schemes
scheme: Muse          # 默认 Scheme,这是 NexT 最初的版本,黑白主调,大量留白
#scheme: Mist         # Muse 的紧凑版本,整洁有序的单栏外观
#scheme: Pisces       # 双栏 Scheme,小家碧玉似的清新
#scheme: Gemini
自定义样式
修改页面宽度
编辑主题的 source/css/_variables/custom.styl 文件,新增变量:
// 当屏幕宽度 < 1600px, 修改成你期望的宽度
$content-desktop = 900px

// 当视窗超过 1600px 后的宽度
$content-desktop-large = 1300px
生成文章摘要
“1. 在文章中使用 <!-- more --> 手动进行截断,在 <!-- more --> 上方撰写摘要,Hexo 提供的方式 【推荐】
- 在文章的
front-matter中添加description,并提供文章摘录,我选择这种
修改作者名称、描述、语言、时区
修改 _config.yml 文件
1 | # Site | # Site |
修改作者头像
修改 themes/next/_config.yml
1 | avatar: /images/headPicture.png |
使用 GitHub Pages
GitHub Pages 使用教程有很多,这里不做赘述,主要是将 .deploy_git 文件夹托管到 GitHub 上,并设置成 GitHub Pages
_config.yml 文件中的 deploy.repo 设置成 github url
我们还可以再建一个 github repository 来管理 Hexo 文件夹